The Resistance Band Anchor Check That Takes 10 Seconds and Prevents Most Snap-Back Injuries
Quick Answer: Before every resistance band set, check that the anchor point is rated for the band’s tension, the band shows no visible cracking or thinning at the anchor contact point, and the anchor itself (door, hook, frame) can’t shift or slip under load. This 10-second check prevents the majority of snap-back injuries.
A snapped band or a slipped anchor point moves fast enough that there’s no reaction time once it happens — the only real prevention is catching the risk before the set starts, not during it.
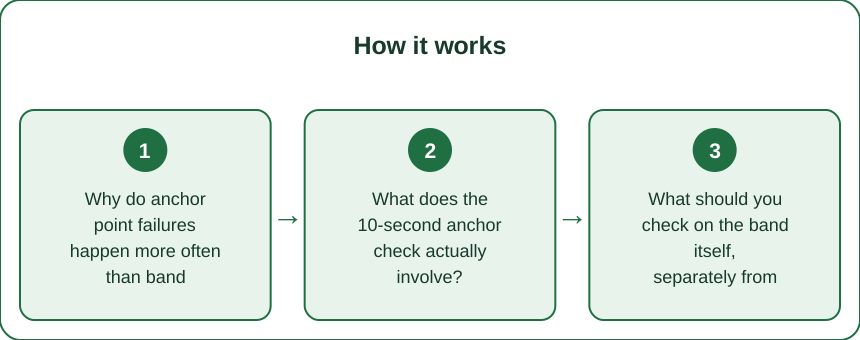
Why do anchor point failures happen more often than band failures?
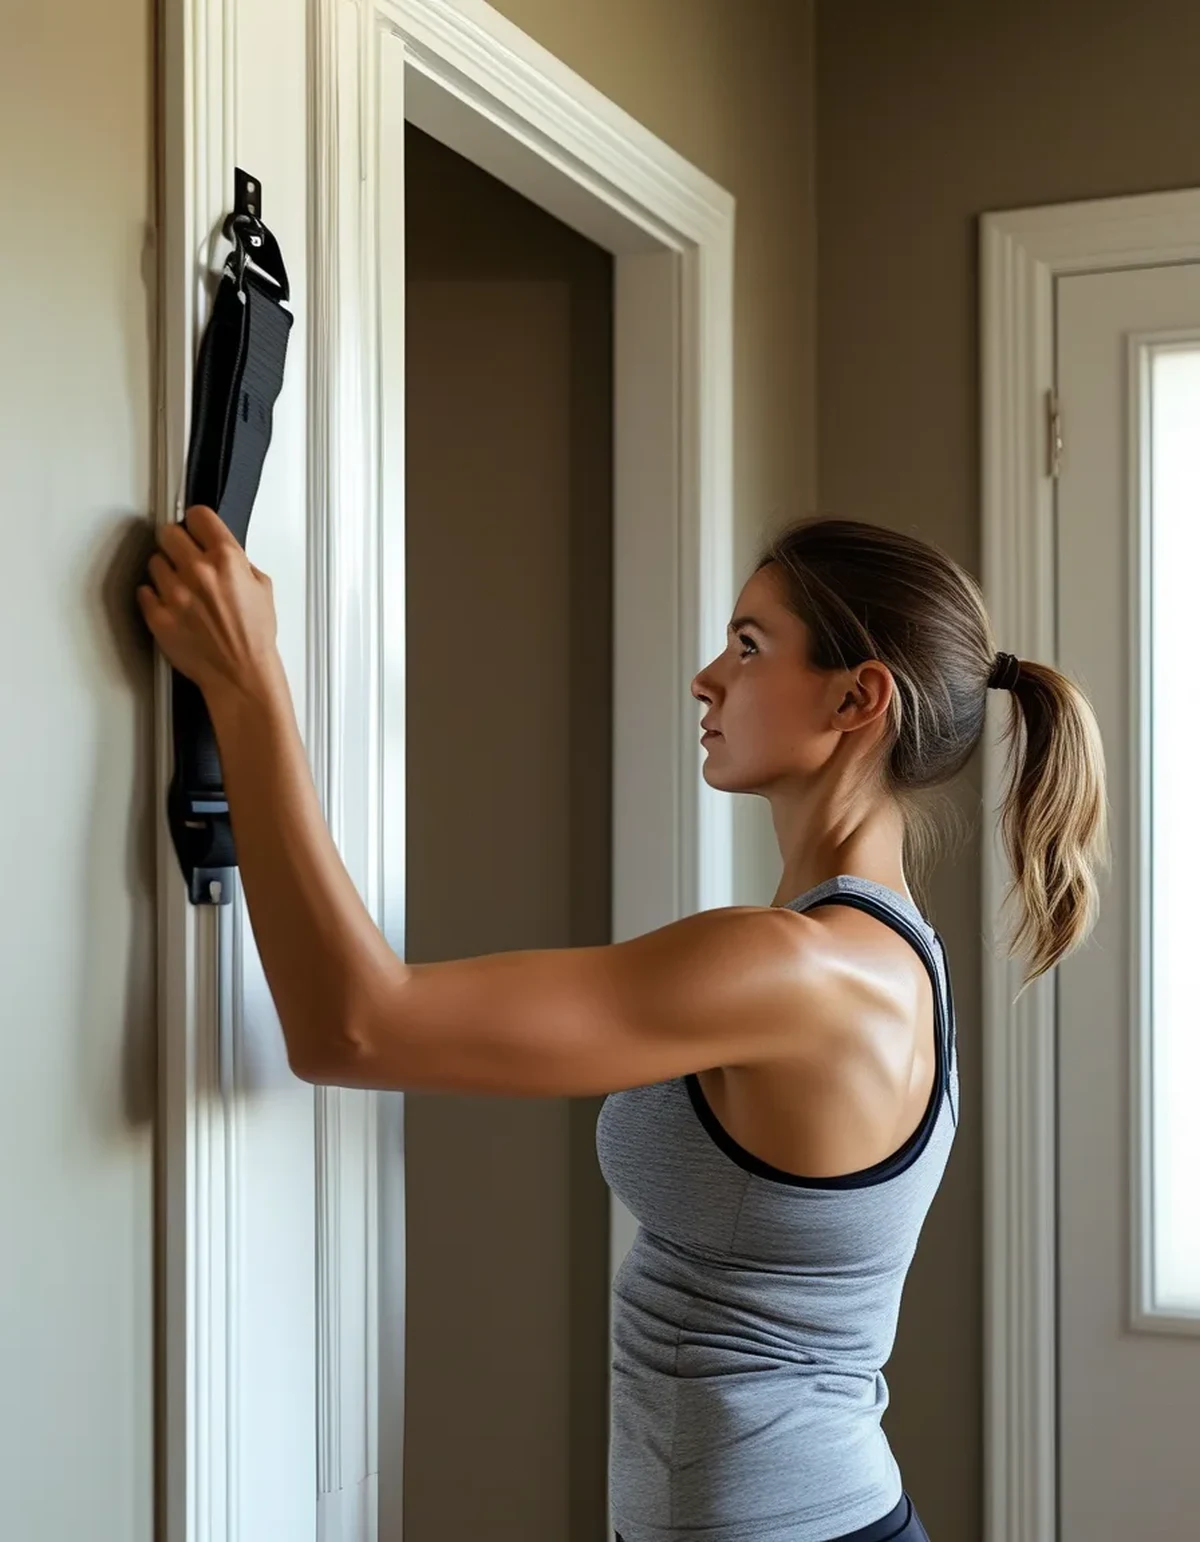
Bands themselves rarely snap without visible warning signs (cracking, thinning), but anchor points fail more unpredictably — a door not fully latched, a hook rated for a lighter load than the band’s actual tension, or a doorframe anchor that slowly slips with repeated pulling. The anchor is often the less-inspected part of the setup, even though it’s frequently the actual point of failure.
What does the 10-second anchor check actually involve?
Pull the band to roughly half your working tension before starting the set and watch the anchor point specifically — does the door hold firm, does the hook stay seated, does the frame anchor stay put? This half-tension test reveals slipping or give at the anchor before you’re at full tension mid-rep, which is the far more dangerous moment for a sudden failure.
What should you check on the band itself, separately from the anchor?
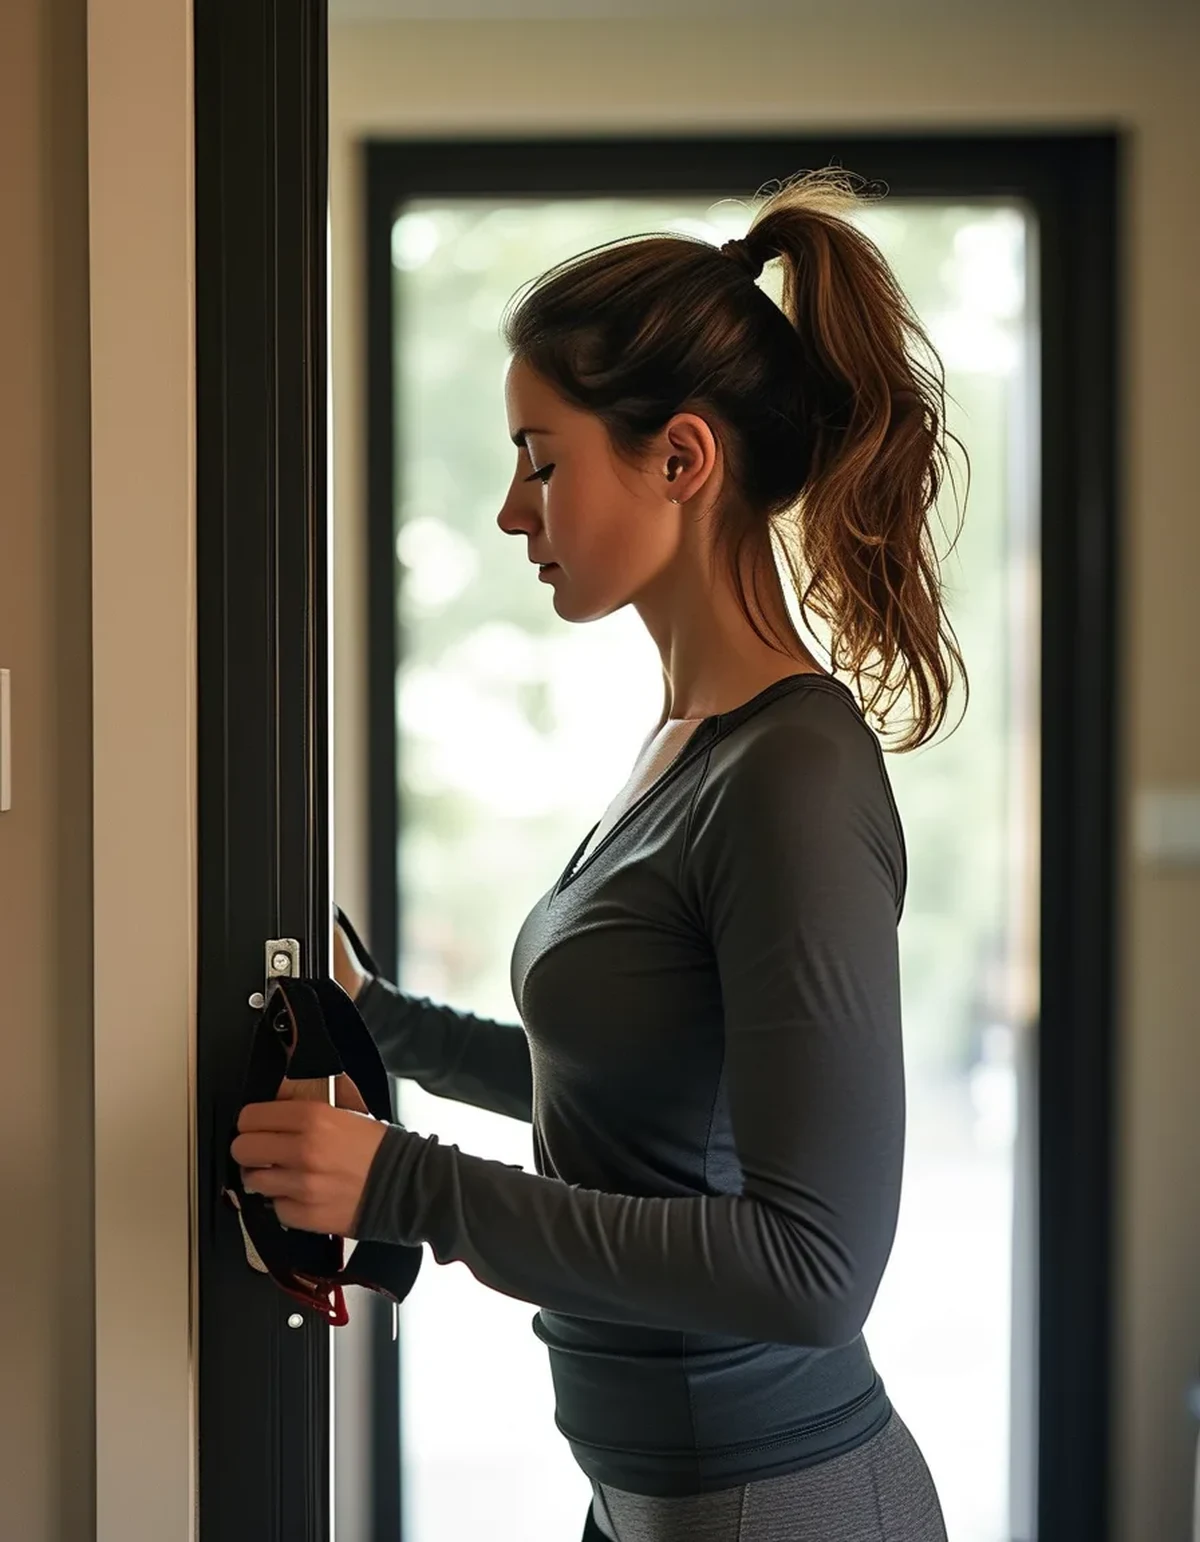
Visually inspect for any cracking, thinning, or discoloration, especially at the points that repeatedly contact the anchor or your hands — these are the areas under the most repeated stress and the most likely failure points over the band’s lifespan. Replace at the first sign of surface cracking rather than waiting for a visible tear.
Are certain anchor points inherently riskier than others?
Yes. Door anchors depend entirely on the door being fully closed and latched — a door that’s ajar or a hinge with play is a common, underappreciated failure point. Dedicated wall or ceiling anchors rated specifically for resistance training are more reliable than improvised anchors (furniture legs, unrated hooks) which weren’t designed for repeated dynamic tension.
FAQ: Resistance Band Anchor Safety Questions, Answered
How often should I replace resistance bands?
Inspect before every use for cracking or thinning; replace at the first visible sign rather than waiting for it to worsen, typically every few months of regular use depending on band quality and frequency.
Are door anchors safe to use at all?
Yes, if the door is confirmed fully closed and latched and the door itself is structurally sound — the 10-second half-tension check specifically catches problems with this type of anchor.
What’s the safest type of anchor point for high-tension bands?
A dedicated, rated wall or ceiling anchor built specifically for resistance training is more reliable than improvised household anchors for anything above light-to-moderate tension.
TL;DR:
- Anchor points fail more unpredictably than bands themselves
- Pull to half tension before the set to test the anchor’s stability first
- Inspect the band itself for cracking or thinning at repeated-contact points
- Door anchors need a fully closed, latched door — a common overlooked risk
A 10-second check before every set is a small habit that prevents the injuries that happen fastest and with no warning.
Keep Reading
This article is for general informational and styling purposes only. Fit, sizing, and product availability may vary.